How to make a DIY Table fan project
On a warm afternoon, a small fan sits on a table, quietly doing its job. As it spins and turns from side to side, it cools different corners of the room — sometimes facing you, sometimes drifting away, but always keeping the air moving. The gentle hum and steady breeze make the space feel calmer, fresher, and more relaxing.
This little fan makes daily life more comfortable: it keeps the room from feeling stuffy, helps you focus while studying, relax while playing, and rest peacefully after a long day. Instead of hot air getting trapped in one spot, the fan circulates it and spreads coolness around the room.
In this blog post, we are going to make a DIY table fan. You can use this table fan working model on your study desk to get the fresh air & also represent this table fan project in science fairs.
Let’s make it. Find the components for making table fan project from Havi’s robotics kits. Or contact us to get the separate elements to make a diy table fan project.
Things you need to make table fan project
Elements:
Motor Element
Havi Controller
Accessories
Gearless motor
Servo motor
Power banks – 2 with USB cables
Data cable
Craft material
Card board
Hot glue(Glue gun)
Paper straw
Scale & pencil
Cutter/Scissor
Double-sided tape
Card paper
For programming
Laptop or computer
Havi’s python web-editor: Havi MicoPy
How to make a table fan at home
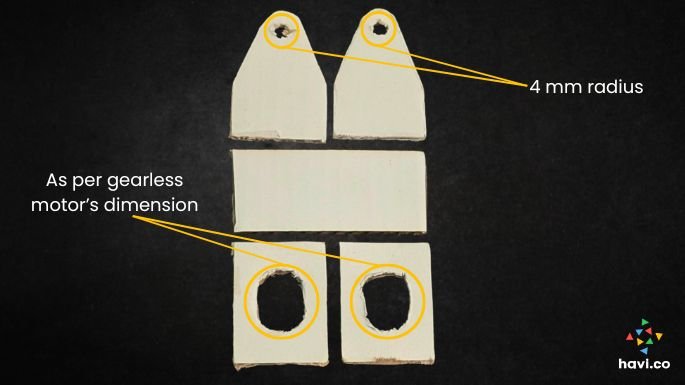
Step 1 – table fan stand from craft material
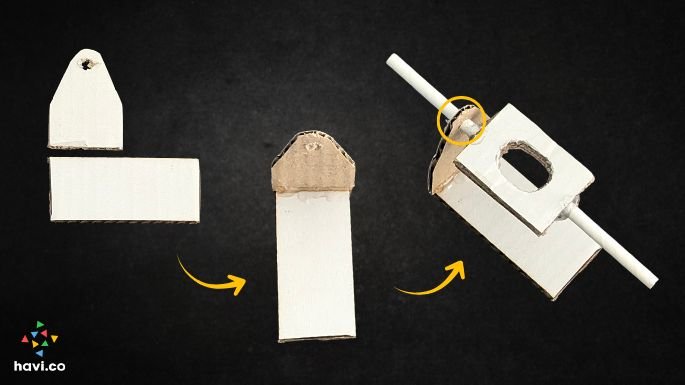
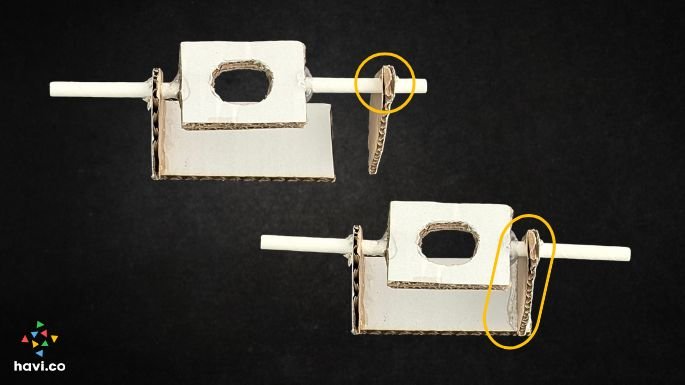
Let’s first make the table fan stand from the pieces of cardboard & paper straws.
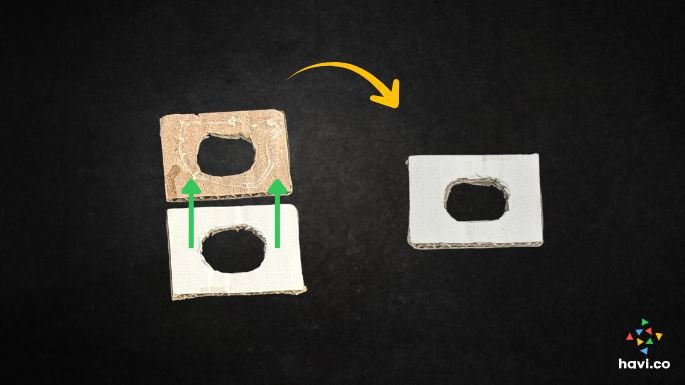
Cut the cardboard and straws. And follow the steps as given in the following images. Use hot glue to stick the parts.
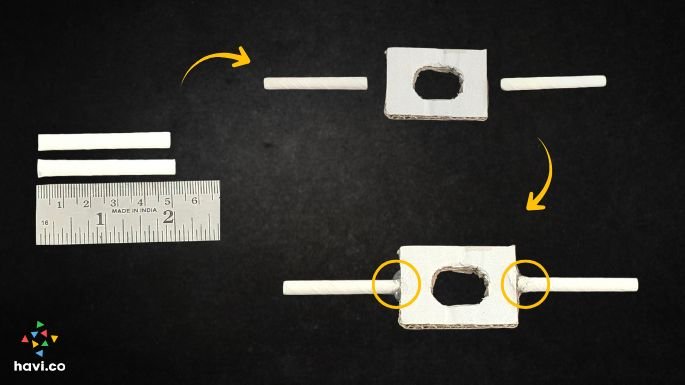
Step 2
Pass the gearless motor from the stand.

Step 3
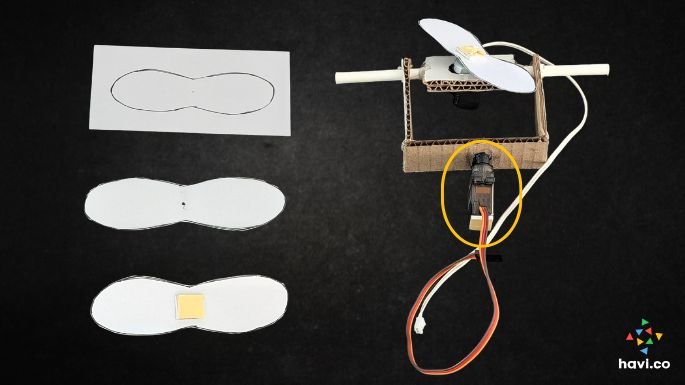
Cut the paper-fan from a piece of chart/craft paper and bend a little from the sides. Stick a piece of double-sided tape at the center of the fan – both sides. Pass it through the shaft of the gearless motor.
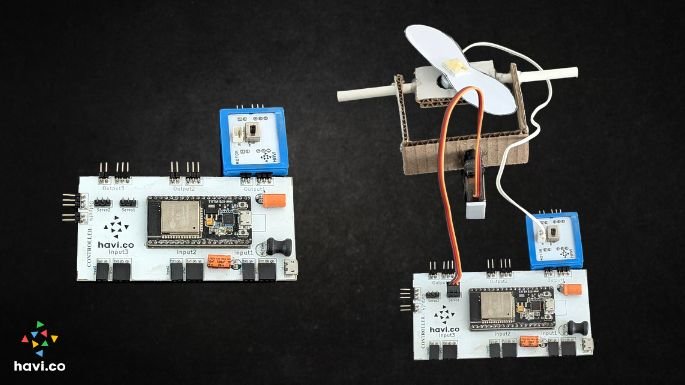
Stick the servo motor at the bottom of the table fan stand.
Step 4
Snap Motor Element with the output1 port and servo motor with the servo 1 port. Connect the gearless motor with the motor element. Connect one power bank using a USB cable.
Step 5
Connect the controller with your computer/laptop using a data cable. Open www.havi.co/micopy in a web-browser. Paste the code of the table fan project in the main.py file.
Step 6
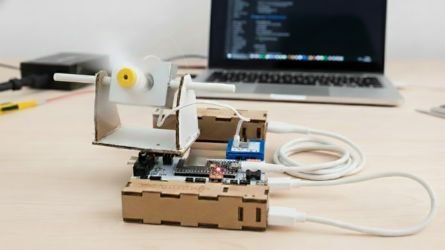
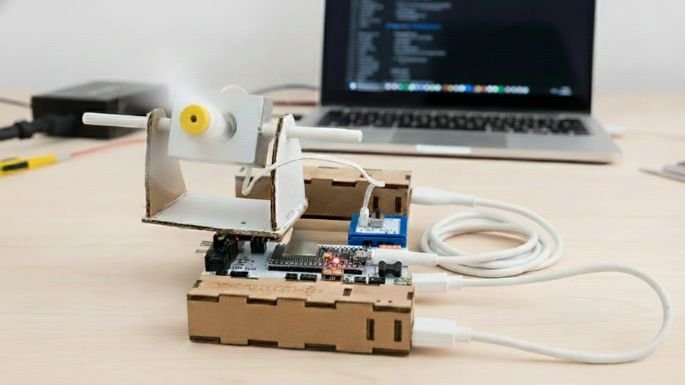
Now, disconnect the controller from the laptop/computer and connect another power bank. Your table fan working model is ready.

How does DIY Table fan work?
The logic is simple. The servo motor at the bottom turns at 180 degrees, which makes the stand turn right and left. The attached gearless motor rotates when the circuit is on. This way, it prototypes with an electric table fan project.
Try this project by using Havi Elements DIY robotics starter kit & havi advanced kit add-on.